
Last Updated: 9/27/25
*Product may vary slightly from above image with revisions to better fit the fog light area
Estimated Time:
+ 15 minutes, per side
Tools Required:
+ 7mm 6-point socket
+ T-15 Torx
+ Flashlight
IMPORTANT INFORMATION
- All instructions and pictures below are demonstrated on a 2021 GMC Sierra 1500, driver’s side. The same exact instructions should apply to the all years between 2019-2022 (“non-refresh”) 1500s.
- Do NOT bend the mounting tabs on the bracket. While they are strong and will hold the bracket firmly in place, lateral force will cause them to break!
INSTALLATION
Step 1: Fender Liner
+ Start at the driver’s side wheel well
- Remove 4 T-15 Torx screws from the fender liner (circled in red below)
Step 2: Provide Access Inside Bumper Area
- Push back the fender liner toward the backside of the tire to hold it in place for access into the bumper area and fog light(s).
Step 3: Removing Stock Fog Lights
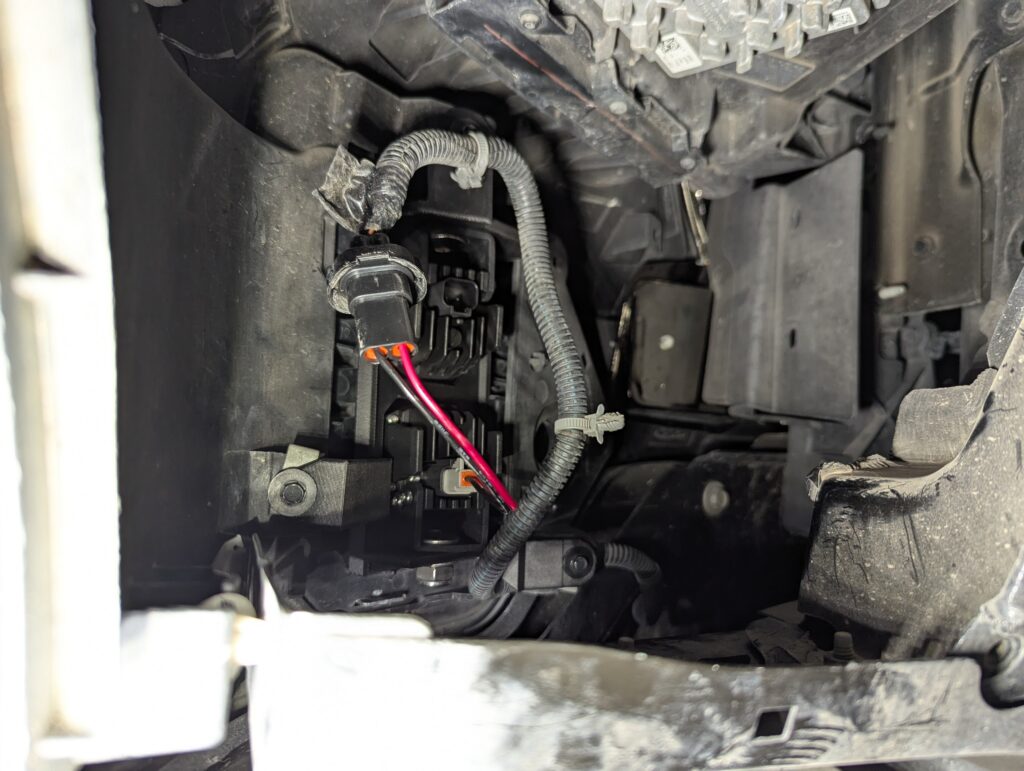
- Disconnect the electrical connector plugged into the back of the fog light (below it is demonstrated outside of the foglight so you can see how to unlock the connector)
First, push the red connector lock UP, then press the connector clip release tab and pull out to remove. If the clip is hard to move, use a ‘pick’ and carefully push it.
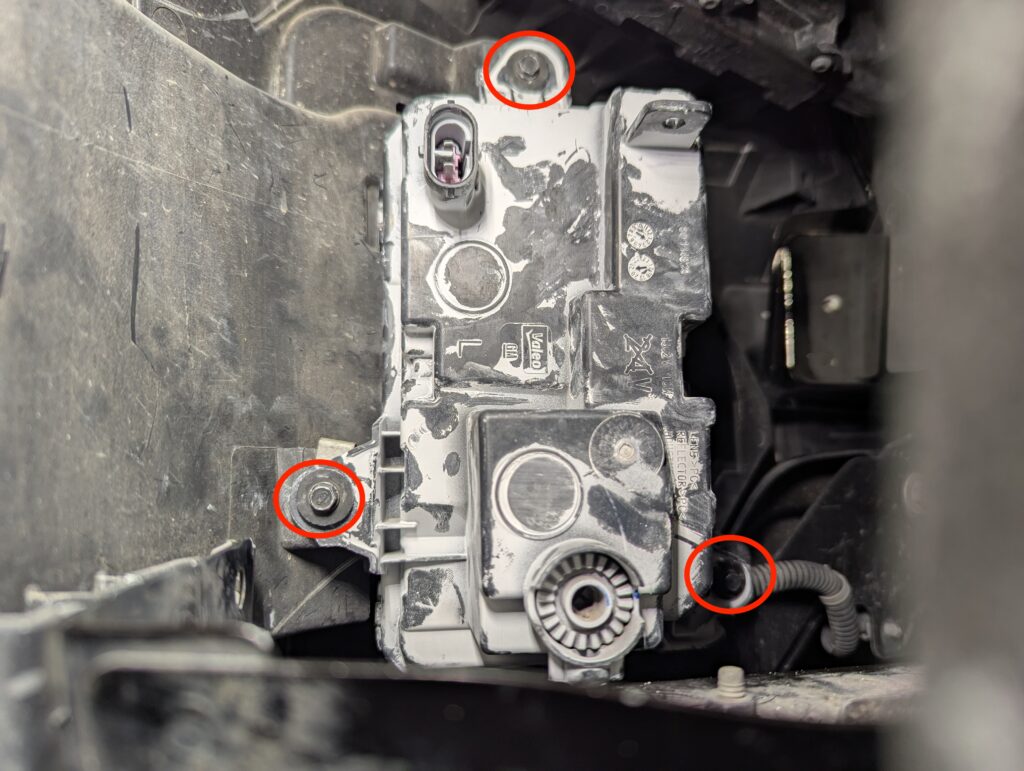
- Undo the 3 mounting bolts on the fog light with a 7mm 6 point socket (circled in red below)
- Remove the ‘Christmas Tree’ clip on the top right of the foglight holding the wiring harness in place, then remove the fog light assembly from the bumper through the fender well
Step 4: Assembly
- Assemble your ‘Woz Customs Fog Light Bracket’ with either 1 or 2 lights of your choosing.
- When inserting your 2″ pod lights into the bracketry, do not push with excessive amount of force, this can break the bracket!
- The pod openings are slightly oversize to allow for adequate cooling of the lights via airflow AND to allow minor adjustment, left to right, and also up and down.
- Find your desired position BEFORE tightening fully. When tightening the top and/or bottom nuts, HOLD the light itself in the position firmly to prevent it from turning.
Tightening fully and then trying to adjust (pushing them up, down, left or right) them could break the bracket!
- Find your desired position BEFORE tightening fully. When tightening the top and/or bottom nuts, HOLD the light itself in the position firmly to prevent it from turning.
- When inserting your 2″ pod lights into the bracketry, do not push with excessive amount of force, this can break the bracket!
- Mounting the bracket is just like original fog light. All mounting holes are in the same exact spots, use the same 3 7mm bolts that you removed in Step 3.
- There is an extra hole under the top most mounting bolt, this is for your stock wiring harness ‘Christmas tree’ clip to push into, just like on the stock fog light
Step 5: Connect Lights
Morimoto 1Banger
- If you bought the optional ‘Stock Fog Light Connector to Deutsch 2 Pin’ harness, connect the stock fog light connector and then the other end into your Morimoto 1Banger (pictured above).
Diode Dynamics SSC1 Lights - You will need to do your own wiring.
Red and Black wires can connect to a H11 connector and then to your stock fog light connector.
The Blue (backlight) wire will connect to a switched 12v source (make sure this is a SWITCHED source, if you do not, it will constantly illuminate even with the vehicle off!
Step 6: Check Light Function & Reassemble Fender Liner
- Before closing up your fender liner, put the vehicle into ‘Accessory Mode’ (Push the Start button once without foot on brake, then press the ‘Fog Light’ button to make sure the fog light is operational. If it is not working, double-check your connectors, pushing them in securely.
- Pull the fender liner back into place and re-attach the 4 T-15 screws from Step 1.
Step 7: Repeat Steps 1-6 on opposite (passenger) side
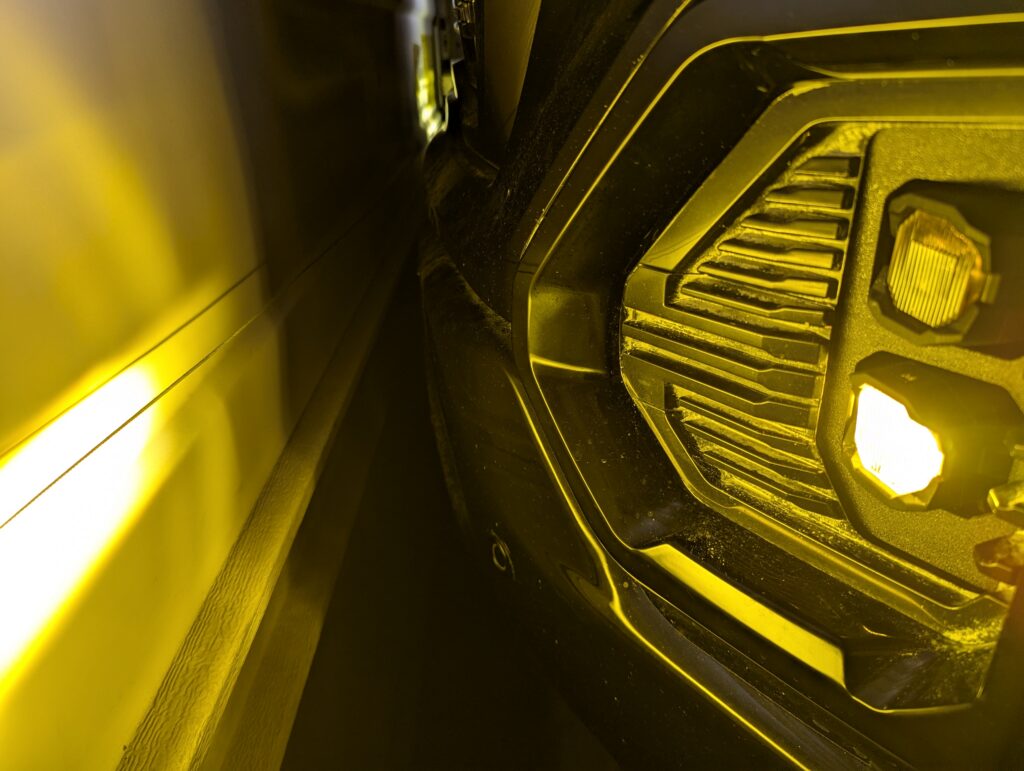
Step 8: Enjoy your new lights!
If you have any questions, or run into any problems, please Contact Us. We will be happy to provide assistance as soon as possible.